TL;DR
The LinkedIn Pixel lets you automatically send recurring invitations to people engaging with your LinkedIn posts (and are not yet in your network). With ReactIn, set it up in 90 seconds and watch your network grow, week after week.
Why a LinkedIn Pixel?
LinkedIn engagement is great, but likes and comments don’t turn into revenue unless those people end up in your network (to be settled and closed after 💰). Most users post, get some traction, and let the momentum "crash". Why? Because converting that engagement into action is manual, tedious, and repetitive.
With the LinkedIn Pixel, that’s no longer the case.
The LinkedIn Pixel is a recurring automation that runs at the profile level. It doesn’t just track one post—you install it on your profile once, and it automatically collects everyone engaging with any of your public posts. Every week, new leads are added to your SmartList. You can then send invites or DMs automatically.
The Problem: Wasted Post Engagement
You’ve probably experienced this:
Your LinkedIn post gets solid traction—likes, comments, even shares.
You open the post, scroll through notifications, and manually connect with people.
Or worse, you wait until the post dies, then run a manual scraper.
Repeat, every time you make a great post
Meanwhile, dozens—maybe hundreds—of potential leads vanish in the noise.

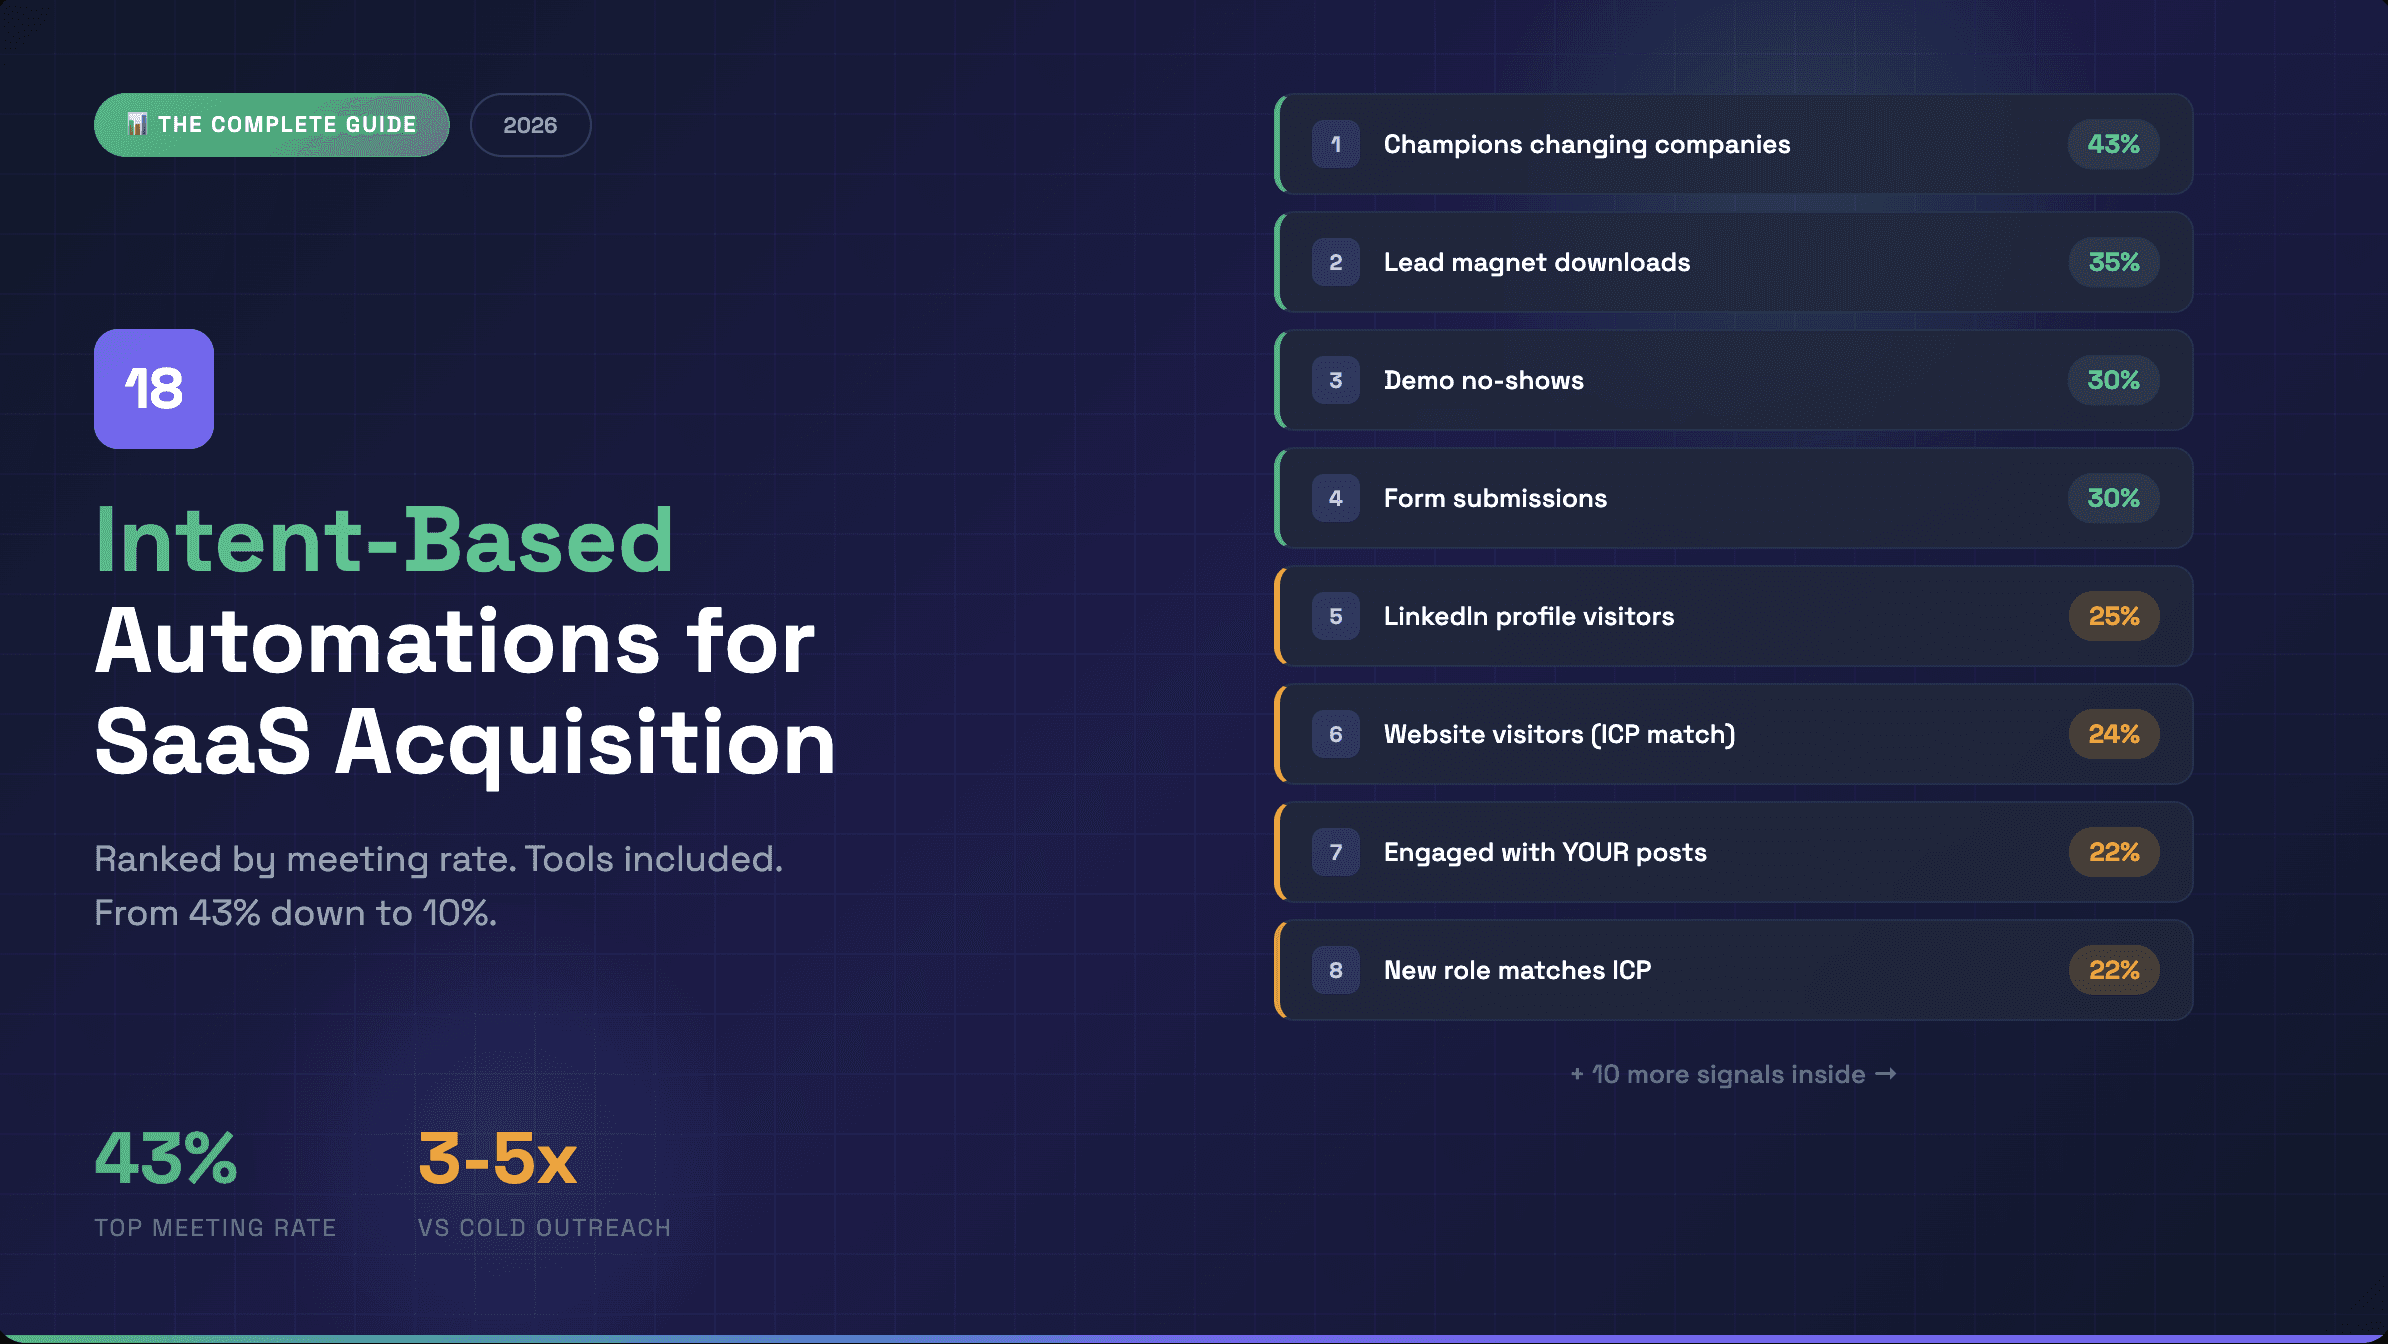
Based on our personal experience, around 30% of people who engaged with your content are not connected to you. That represents thousands of potential leads lost per year.
The Solution: ReactIn’s LinkedIn Pixel
With ReactIn’s Pixel, you can:
✅ Track engagement across your entire profile, not just one post, but ALL your posts, every week on autopilot
✅ Auto-update the list weekly with new leads that engaged with your posts
✅ Only target people not already in your network
✅ Trigger connection requests and/or LinkedIn DMs
✅ Save hours every week while scaling your reach
You post content. ReactIn does the rest.
No code. No manual scraping. No forgetting to follow up.
How to Set Up Your LinkedIn Pixel in 3 Steps
📹 Want to see the setup in action? Watch the 2-minute tutorial video
Step 1: Create a Pixel SmartList
Sign up on ReactIn: Start here
Go to the “Lists” section
Click on “New List”
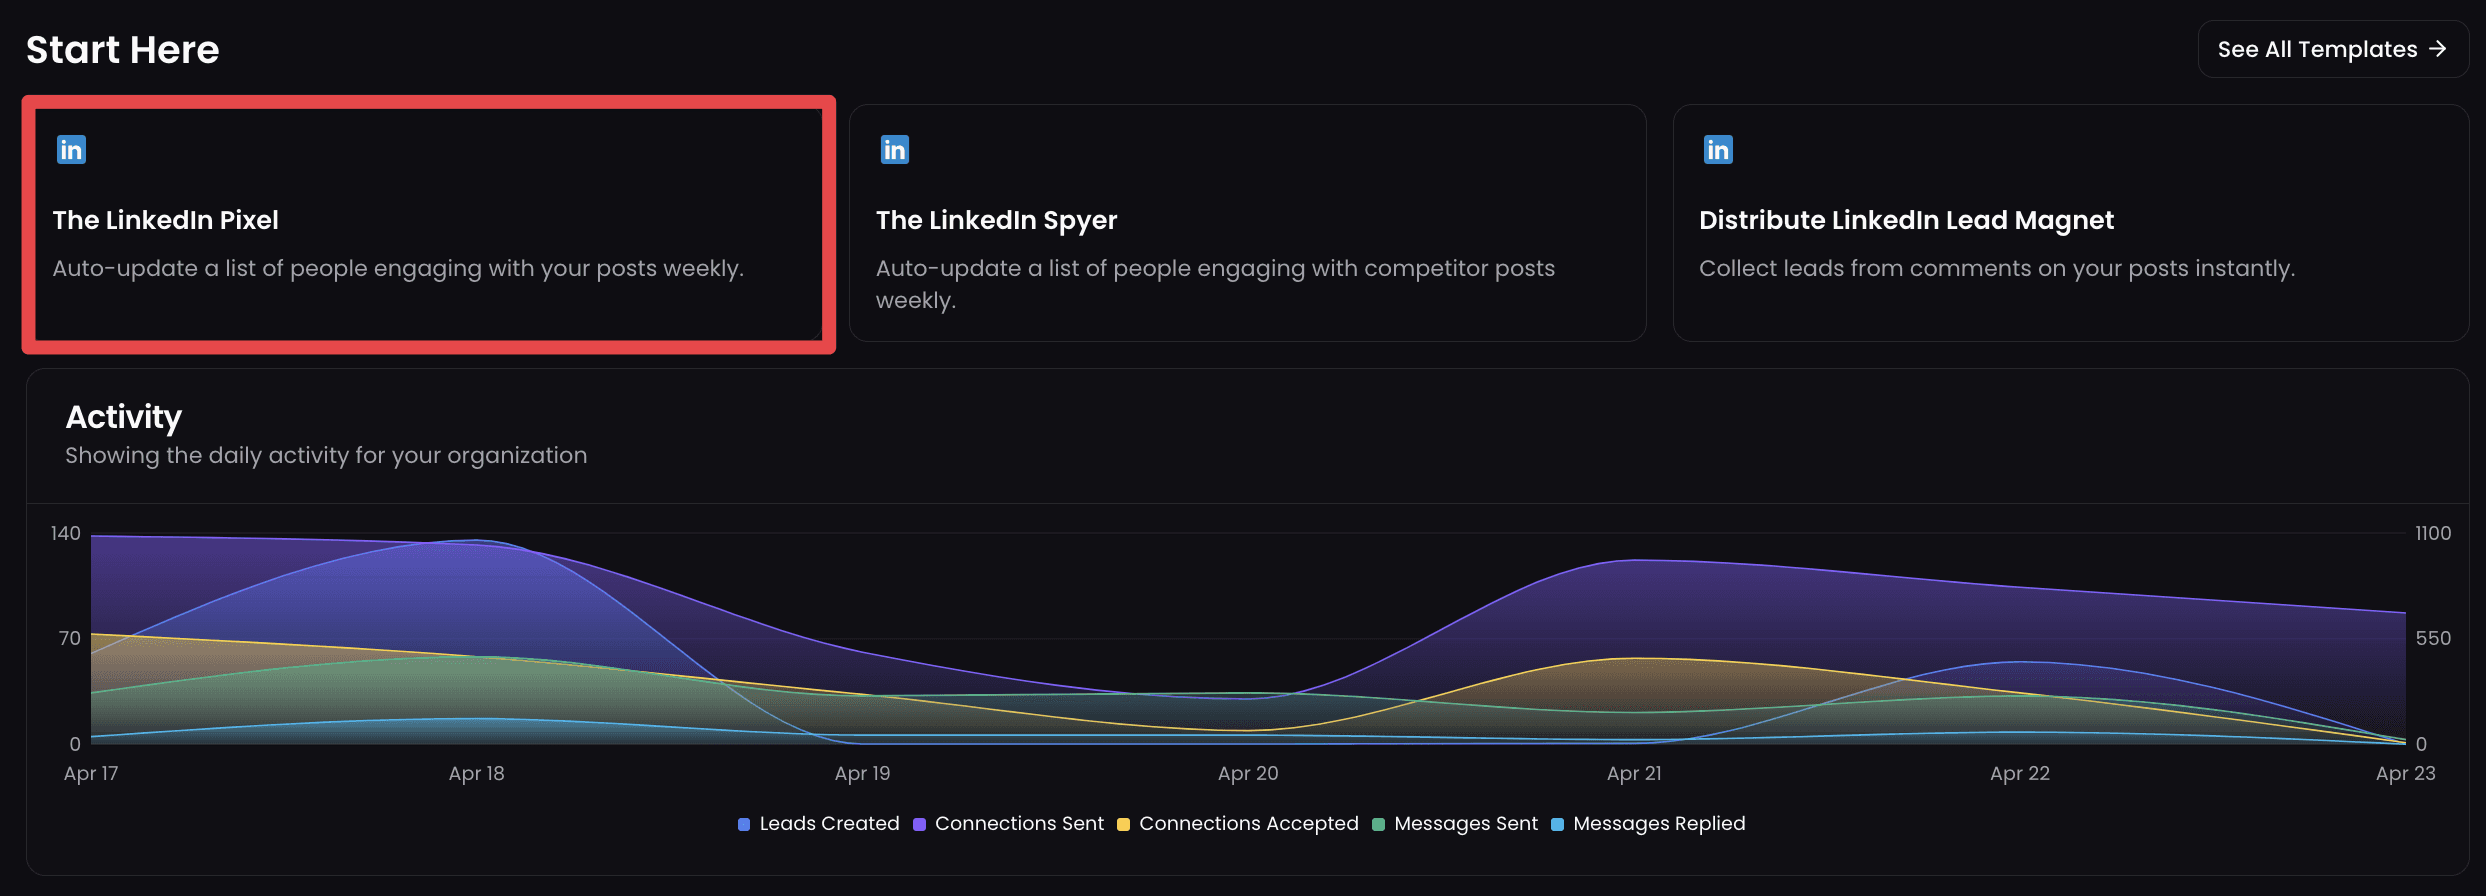
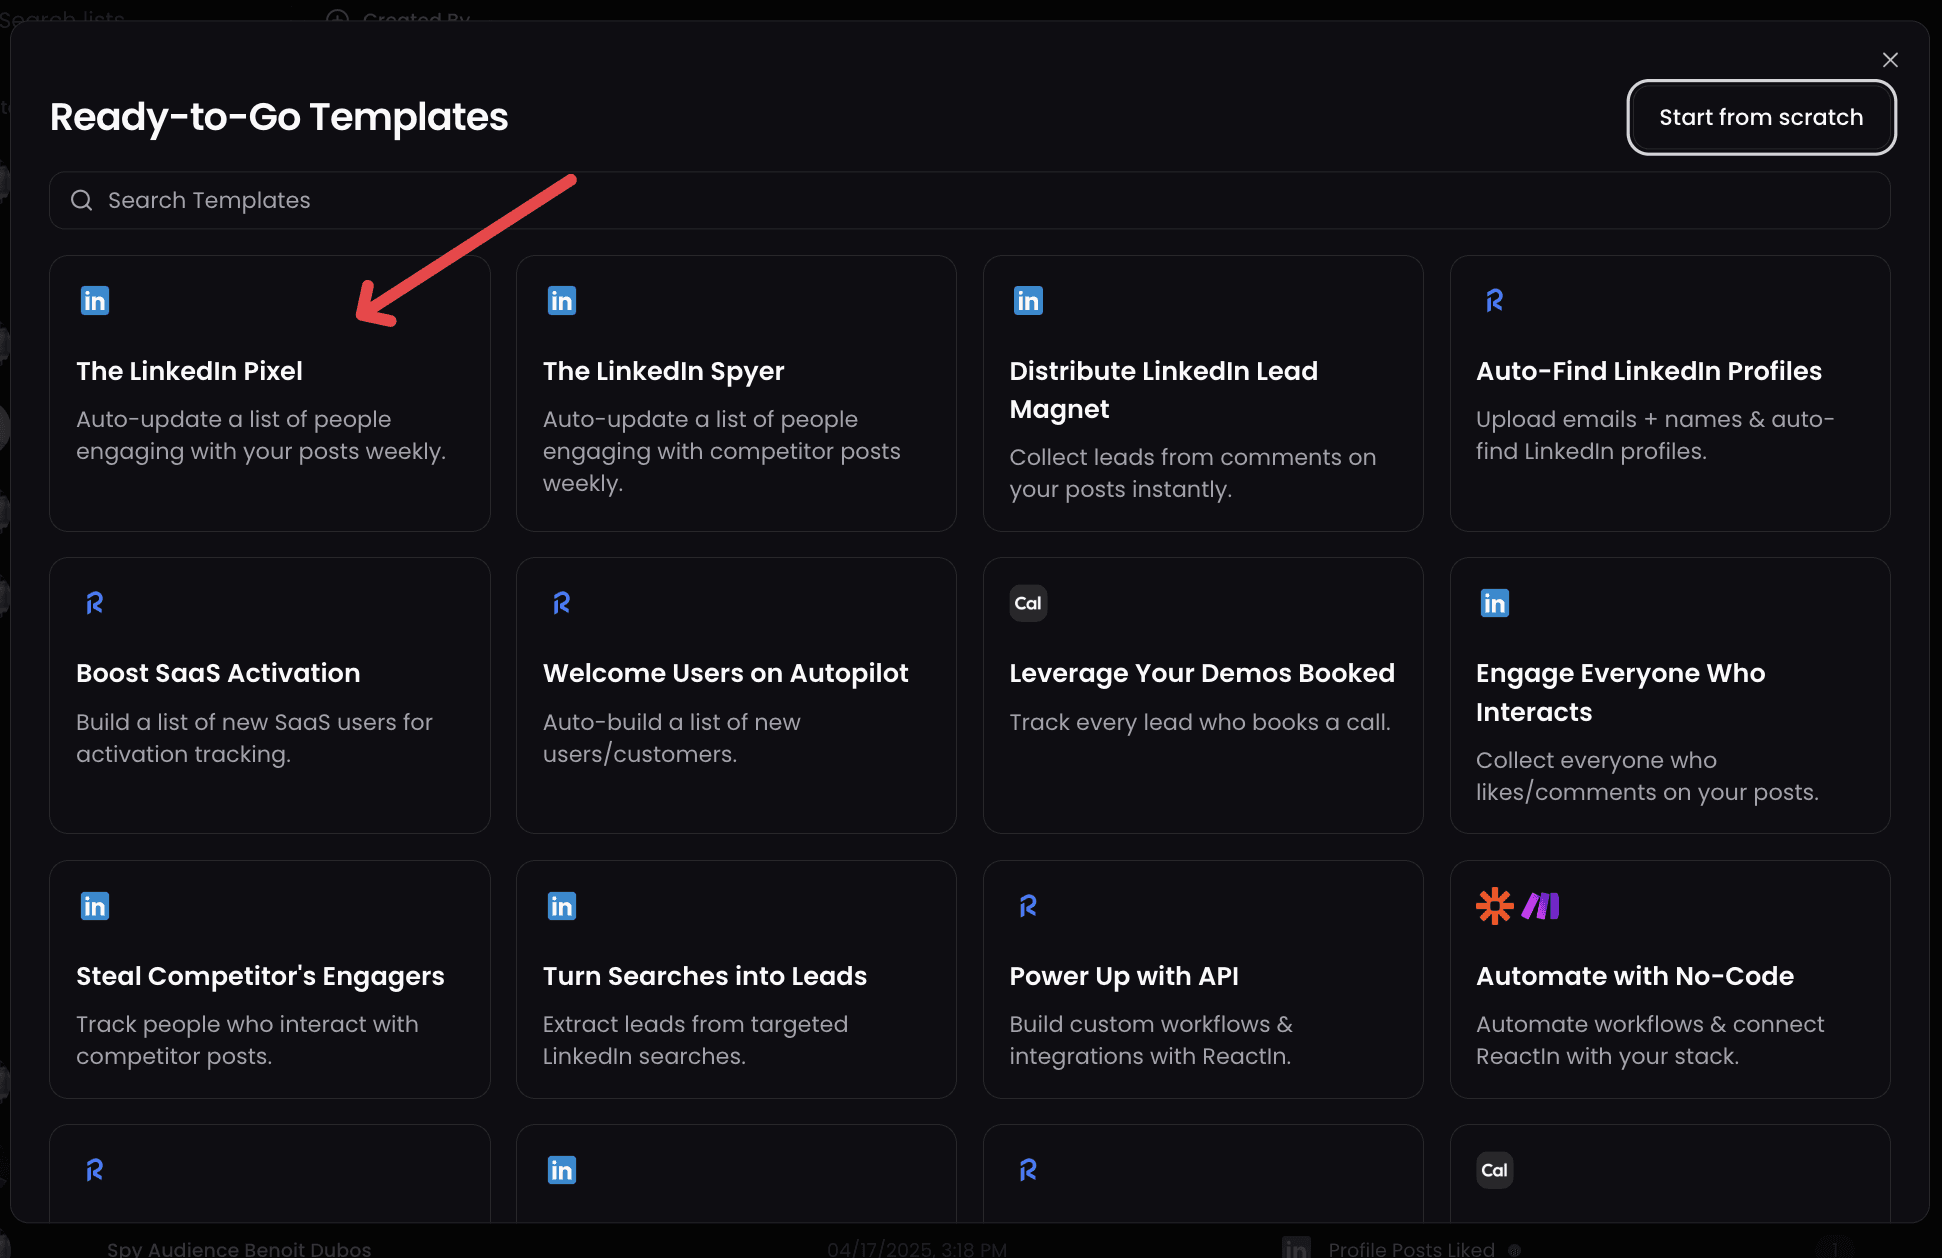
Choose “The LinkedIn Pixel” template
Paste your own LinkedIn profile URL
Name your list (e.g., “My Weekly Pixel”)
🔁 The Recurring Toggle is automatically ON—this is a weekly scraper.
📦 ReactIn now tracks all new engagement (likes + comments) across your profile, not just one post.
Step 2: Launch a Campaign
Go to the “Campaigns” section
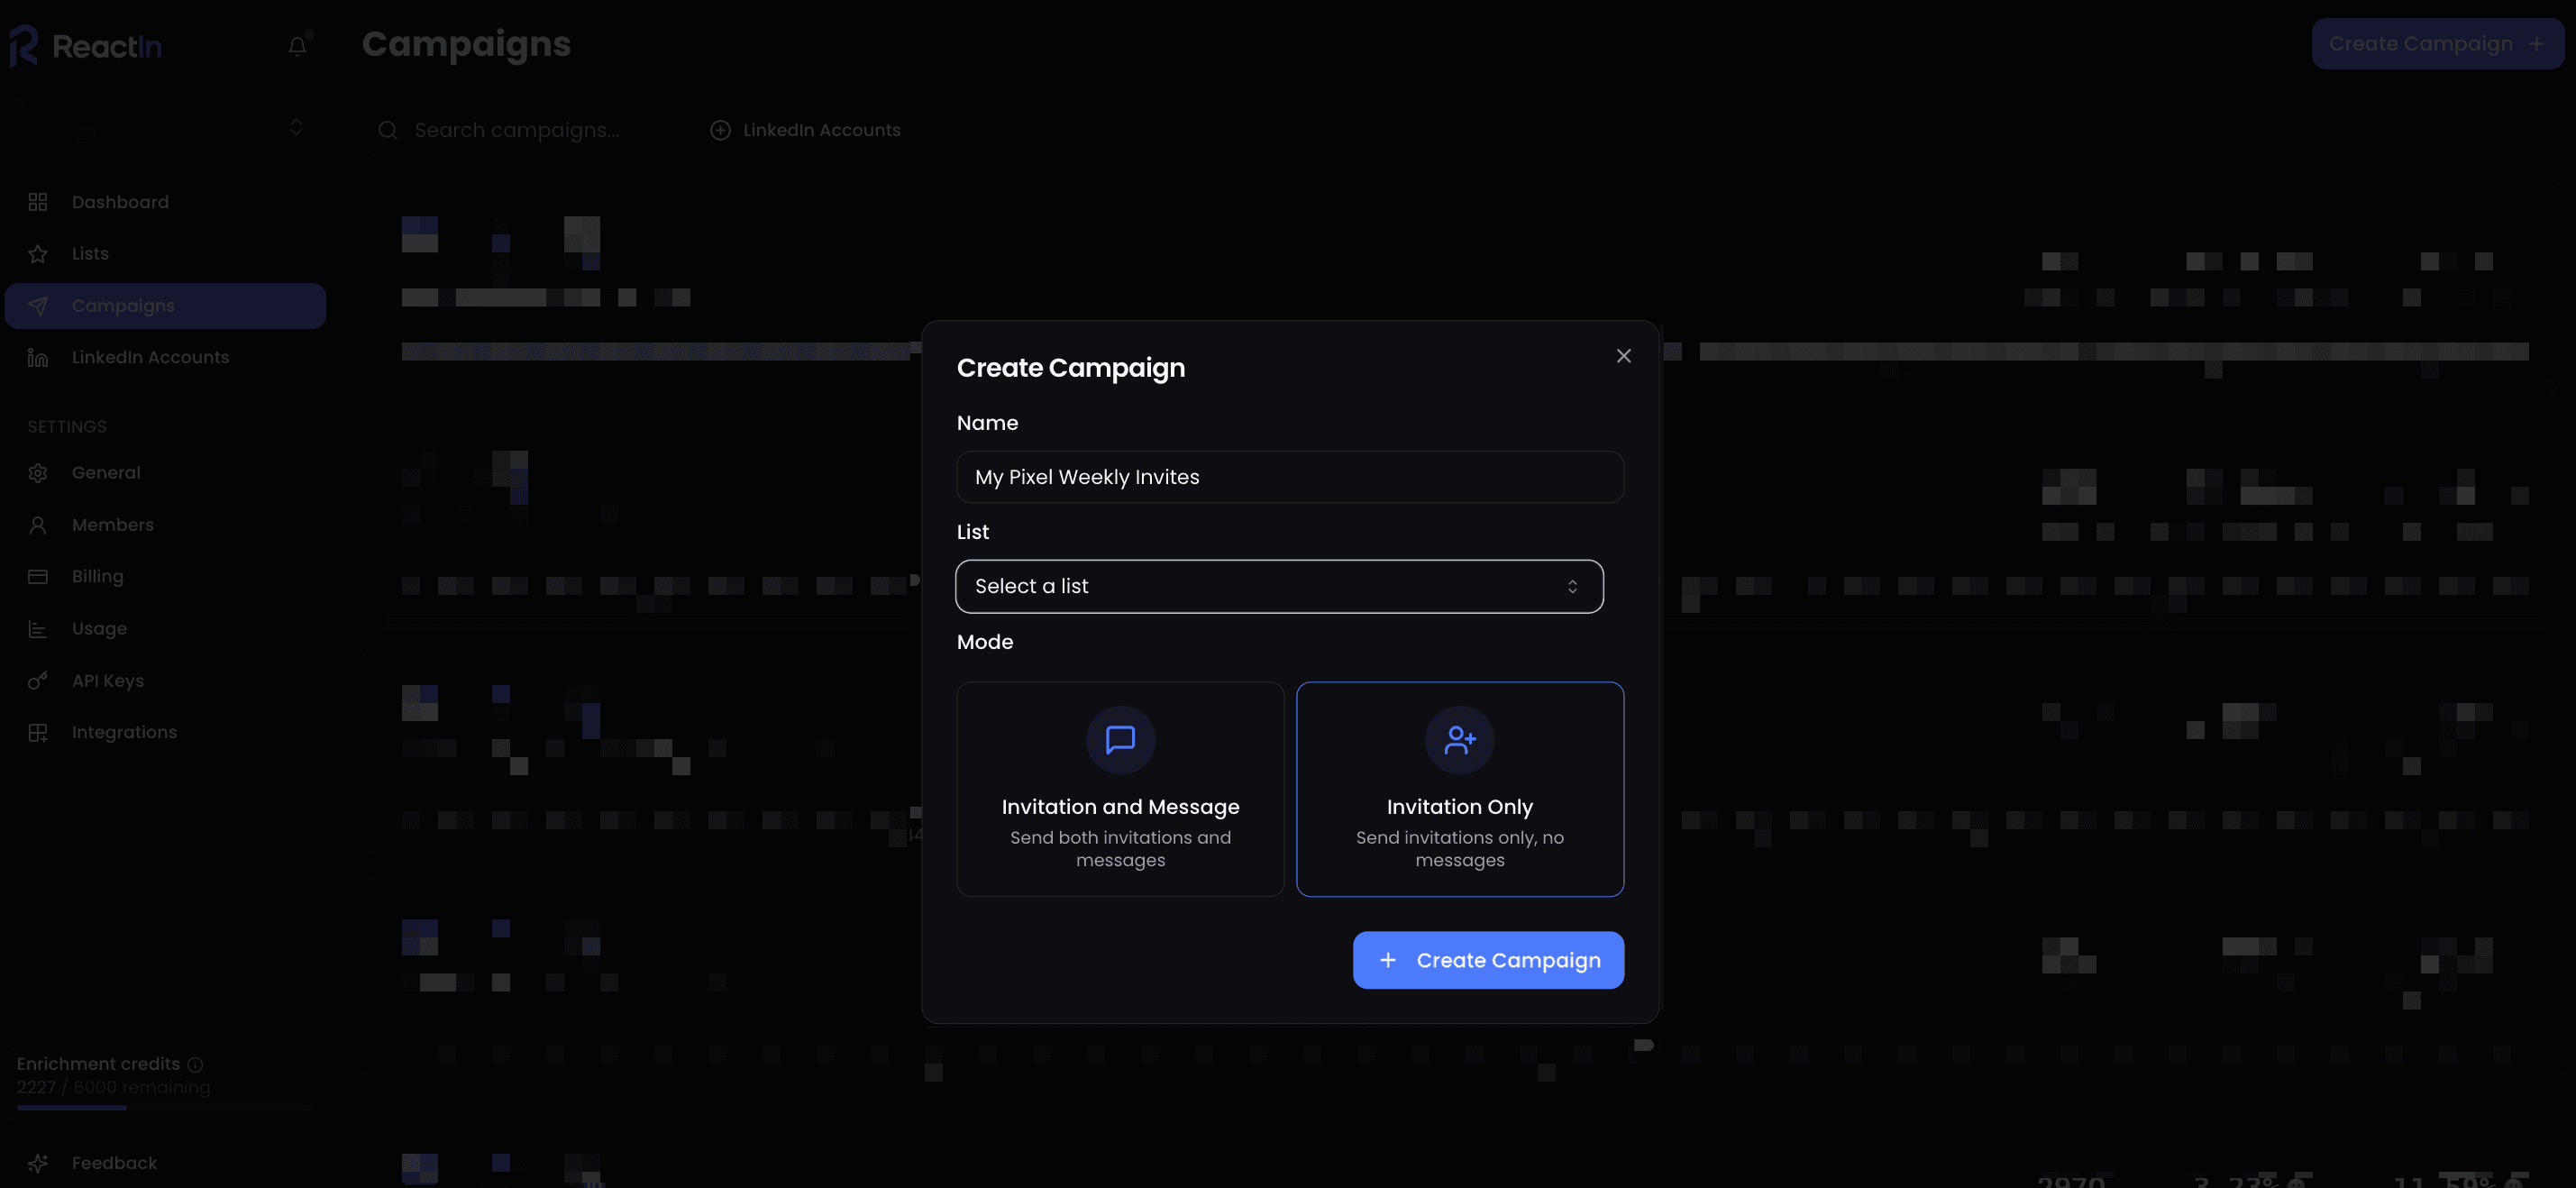
Click on “Create Campaign”
Name your campaign (e.g., “Invite my fans”)
Select your SmartList (e.g., “My Weekly Pixel”) as the lead source
Choose your campaign type:
→ Invite only (preferred for Pixel)
→ Invite + DM
Customize your campaign:
✅ Add filters if needed (e.g., Is B2B = True using AI Smart Columns)
✅ Add multiple LinkedIn accounts for multi-sender rotation
✅ Set sending rules (weekends or weekdays, delays, throttling)
✅ Skip leads already messaged in past campaigns
💬 If using Invite + DM:
Write your main message template (using Smart Column variables)
Set a fallback message for missing variables
➡️ Click “Save”, then “Start Campaign” — and it’s live! 🙌
Step 3: Let It Run on Autopilot
Every week, ReactIn scrapes all new post engagement from your profile.
If someone likes or comments—and isn’t yet in your network—they’re added to your SmartList and invited/messaged automatically.
You stay focused on what matters: → Creating content
→ Closing deals
→ Leveraging Social Selling
→ Growing your audience
💡 Pro tip: Use AI Smart Columns to personalize at scale.
Example: "Hey {{First Name}}, saw you liked my post. Since you're in {{Job Title}}, here’s something that might help you boost your results..."
Real Example: How I Got +1200 Leads in One Week
I shared a simple LinkedIn Lead Magnet about LinkedIn growth strategies.
Within 36h: 1,200+ comments.
With ReactIn’s Pixel:
I didn’t need to scrape manually
I didn’t need to remember to follow up
I didn't need to check who to target with an offer or not
I didn’t need to adapt my message to everyone
Just one link. One list. And it ran itself.
Those leads turned into DMs, demos, and new revenue.
750 unique leads, 300 watch my ressource tutorial, 175 signed up to ReactIn 😍
Why It’s Better Than Manual Workflows or No-Code Setups
⚙️ Manual or no-code workflows don't scale:
You need to input the post link every time
You can't filter by "ICP" for example
You have to refresh manually or manage the invite and DMs follow-up
You forget to do it… and the opportunity’s gone
🚀 ReactIn Pixel fixes all of that:
1-time setup on your LinkedIn profile
Weekly recurring automation
Filters out 1st-degree connections automatically and/or your ICP, for example
😈 Scalable across multiple LinkedIn accounts (if you’re in a team)
Want to Go Even Further? Steal Competitor Audiences with “The Spyer”
Once you’ve installed the Pixel on your profile, try this:
✅ Use "The LinkedIn Spyer" to track someone else’s profile.
It works the same way—except this time, ReactIn scrapes every new person engaging with your competitor’s posts, week after week.
That means:
You tap into their audience
You appear first in their DMs
You steal attention & leads—on autopilot
Conclusion
The future of LinkedIn outreach is intent-based and automated. ReactIn’s Pixel SmartList makes it effortless:
Build your audience
Convert engagement into leads
Run recurring campaigns
Stop letting warm leads slip away
No more static lists. No more missed connections.
🔁 Your content works for you.
⚡ ReactIn powers the automation.
👉 Get started with ReactIn now — and turn your LinkedIn into a lead machine.
François D.
FAQ
1. Can I use the Pixel on multiple profiles?
Yes, if you have a team, each LinkedIn account can have its own Pixel.
2. Is this safe for my LinkedIn account?
Yes. ReactIn uses human-like behavior and built-in throttling to keep your account safe.
3. Can I use both Pixel and Spyer at the same time?
Absolutely! You can track your content with Pixel and a competitor’s profile with Spyer at the same time.